Hose Spigot Leaking from Handle: Causes and How to Fix It
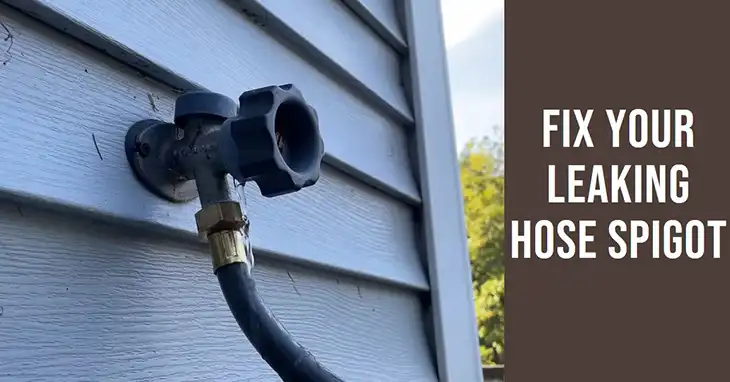
A hose spigot leaking from the handle can be a frustrating problem, not only wasting water but also potentially causing damage to your home’s foundation or garden area. Fortunately, this is usually a minor plumbing issue that can be easily resolved with some basic knowledge and tools.
In today’s articl, we’ll explain why your hose spigot might be leaking from the handle, how to troubleshoot the issue, and how to repair it quickly to prevent further leaks and water waste.
Why Is Your Hose Spigot Leaking from the Handle?
Before diving into how to fix the leak, it’s important to understand the possible causes. There are a few common reasons your hose spigot may be leaking from the handle:
- Worn-Out Packing Washer: The most frequent cause of leaks around the spigot handle is a worn or damaged packing washer. This washer forms a seal around the valve stem, preventing water from escaping. Over time, exposure to water pressure and wear can cause it to degrade, allowing water to leak out.
- Loose Packing Nut: The packing nut is responsible for compressing the packing washer around the valve stem. If the nut becomes loose, the washer won’t seal properly, leading to leaks around the handle.
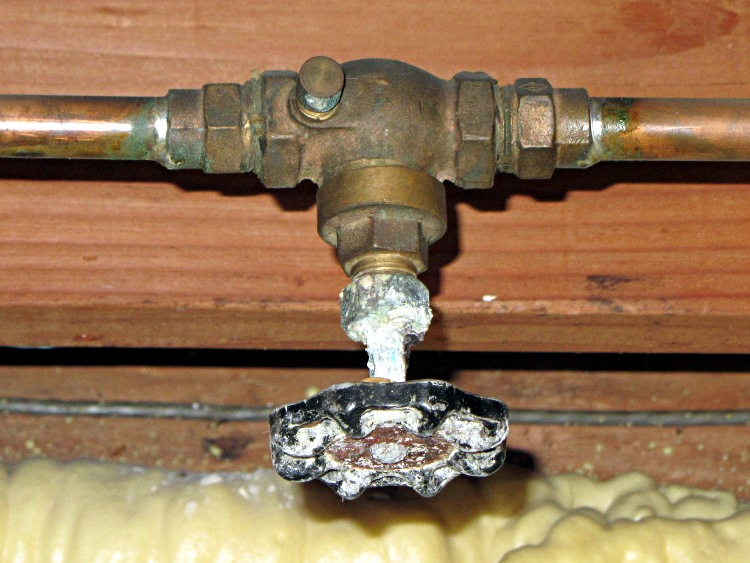
- Valve Stem Corrosion or Damage: In some cases, corrosion or damage to the valve stem itself can result in leaks. This is more common with older spigots that have been exposed to the elements for many years.
- High Water Pressure: Excessively high water pressure can put strain on the spigot’s internal components, causing leaks. If your water pressure is too high, it may cause leaks from the handle, even if the parts are in relatively good condition.
- Old or Faulty Spigot: Like any plumbing component, hose spigots don’t last forever. If your spigot is old or hasn’t been maintained properly, the leak could be a sign that it’s time for a replacement.
How to Fix A Hose Spigot that’s Leaking from Handle
Step 1: Identify the Source of the Leak
Before attempting any repairs, you’ll want to confirm where the leak is coming from. While a leak from the spigot handle is usually easy to spot, it’s important to make sure the leak isn’t actually originating elsewhere, like the hose connection or the spout.
Here’s how to pinpoint the leak:
- Turn on the Spigot: Open the spigot by turning the handle and watch closely to see where water is escaping. If water is coming from around the handle, you’re dealing with a handle leak.
- Check the Hose Connection: Make sure the hose is tightly connected to the spigot. Sometimes, leaks near the handle may be mistaken for hose leaks. A rubber washer inside the hose may need replacing if that’s the case.
Once you’ve confirmed that the handle is the problem, you’re ready to move on to the repair.
Step 2: Tighten the Packing Nut
One of the simplest fixes for a leak from the handle is tightening the packing nut. This nut holds the packing material (often a rubber or graphite washer) around the valve stem, creating a seal that prevents leaks.
How to Tighten the Packing Nut:
- Turn Off the Water Supply: Before you begin, turn off the water supply to the spigot. This might be a valve inside the house, or it could involve shutting off the water supply to the entire house.
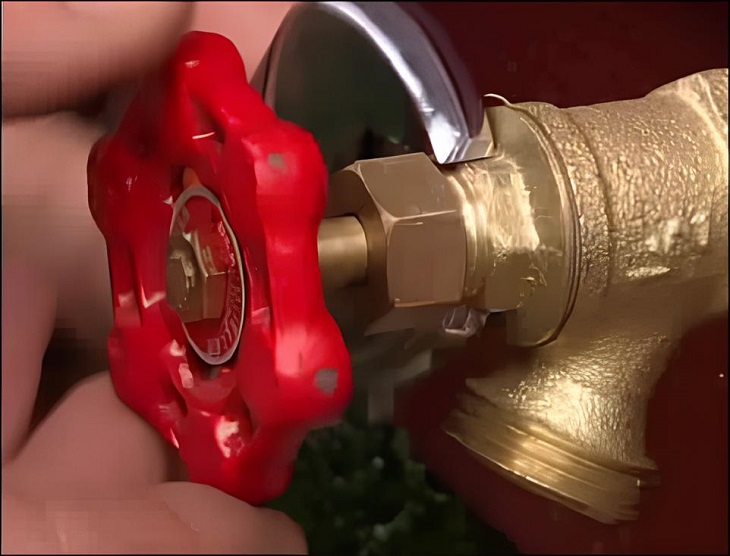
- Locate the Packing Nut: The packing nut is a small, hexagonal nut located right behind the spigot handle, around the valve stem.
- Use a Wrench: Take a small adjustable wrench and tighten the packing nut by turning it clockwise. Be careful not to overtighten, as this can damage the washer or the valve stem itself.
- Turn the Water Back On: After tightening the nut, turn the water back on and test the spigot. If the leak has stopped, you’re done! If not, you may need to replace the packing washer.
Step 3: Replace the Packing Washer
If tightening the packing nut doesn’t solve the problem, it’s likely that the packing washer inside the spigot has worn out and needs to be replaced. This is a simple and inexpensive fix.
How to Replace a Packing Washer:
- Turn Off the Water Supply: Again, ensure the water supply is completely shut off before starting the repair.
- Remove the Handle: Use a screwdriver to remove the screw from the center of the spigot handle. Once the screw is removed, pull the handle off the valve stem.
- Loosen and Remove the Packing Nut: Using your wrench, loosen and remove the packing nut.
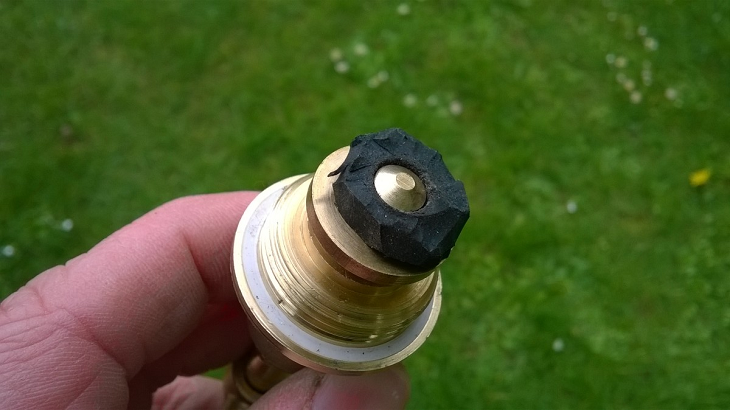
- Remove the Valve Stem: Once the packing nut is off, carefully pull out the valve stem. You should now see the old packing washer around the valve stem.
- Replace the Washer: Remove the old washer and replace it with a new one. Make sure to choose a washer that matches the size and type of your spigot. Most hardware stores carry packing washers that fit standard spigots, and they typically cost around $1 to $3.
- Reassemble the Spigot: Reinsert the valve stem, tighten the packing nut, and reinstall the spigot handle. Make sure everything is snug, but again, avoid overtightening.
- Test the Spigot: Turn the water supply back on and test the spigot by turning it on and off. If the leak has stopped, you’ve successfully fixed the problem.
Step 4: Replace the Spigot (If Necessary)
If the spigot continues to leak even after tightening the packing nut and replacing the washer, the issue may be with the spigot itself. Old spigots can become corroded or worn out, making repairs less effective. In this case, it might be time to replace the entire spigot.
How to Replace a Hose Spigot:
- Shut Off Water Supply: As always, start by turning off the water supply.
- Remove the Old Spigot: Use a pipe wrench to unscrew the old spigot from the wall. Be careful not to damage the pipe that connects to the spigot.
- Clean the Threads: Once the old spigot is removed, clean the threads of the pipe with a wire brush to remove any debris or corrosion.
- Wrap the Threads with Teflon Tape: Apply Teflon tape around the threads of the pipe to ensure a tight seal when you install the new spigot. Wrap the tape 3 to 5 times around the threads for a good seal.
- Install the New Spigot: Screw the new spigot onto the pipe by hand, then tighten it with a pipe wrench. Make sure it’s securely in place, but avoid overtightening.
- Turn the Water Back On: After installing the new spigot, turn the water back on and test for leaks.
Replacing the spigot should resolve the issue if the leak was due to old or faulty components.
Step 5: Prevent Future Leaks
To prevent future leaks from your hose spigot, regular maintenance is key. Here are a few tips to help:
- Turn Off the Water in Winter: During cold weather, it’s important to turn off the water supply to outdoor spigots to prevent freezing, which can cause the spigot to crack or leak.
- Check the Packing Nut Annually: Once a year, check the packing nut to ensure it’s still tight and the packing washer is in good condition.
- Inspect for Corrosion: Keep an eye on your spigot for signs of corrosion, which can indicate the spigot is nearing the end of its life.
FAQs
1. Why is my hose spigot leaking from the handle when I turn it on?
The most common reason for a spigot to leak from the handle is a worn-out or damaged packing washer. Over time, this washer, which forms a seal around the valve stem, can degrade, allowing water to escape around the handle. In some cases, it might also be a loose packing nut that just needs tightening.
2. How do I stop my spigot from leaking when the handle is turned off?
If water continues to leak from the spigot handle when it’s turned off, try tightening the packing nut located behind the handle. If that doesn’t fix the problem, you may need to replace the packing washer, which is a simple and inexpensive repair.
3. Can I fix a leaking hose spigot myself, or do I need a plumber?
Yes, most homeowners can fix a leaking hose spigot themselves with basic tools like a wrench, screwdriver, and pliers. Replacing a worn-out packing washer or tightening the packing nut are straightforward tasks. However, if the spigot continues to leak after these fixes or if there’s significant corrosion, it might be time to call a plumber for help or replace the spigot altogether.
4. How much does it cost to repair a leaking hose spigot?
Repairing a leaking hose spigot is generally inexpensive. Replacing a packing washer costs around $1 to $3, and tightening the packing nut is free if you already have a wrench. If you need to replace the entire spigot, costs range from $10 to $30 for a new spigot, plus any tools or Teflon tape if needed.
5. How can I prevent my hose spigot from leaking again in the future?
To prevent future leaks, regularly inspect the spigot for wear and tear, especially around the handle and packing nut. Turn off the water supply to outdoor spigots in the winter to avoid freezing damage, and periodically tighten the packing nut if it starts to loosen. Simple maintenance can help keep the spigot functioning properly for many years.
Final Words
If your hose spigot is leaking from the handle, it’s a problem that can usually be fixed with a few basic tools and some spare parts. Whether it’s a simple tightening of the packing nut or a full spigot replacement, these steps will help you eliminate the leak and save water.
By regularly inspecting your spigot and performing maintenance, you can also prevent future leaks and keep your outdoor plumbing in good working order.