How to Fix Shower Diverter | A Step-by-Step Guide
A shower diverter is a small but essential component that directs water flow between the bathtub faucet and the showerhead. Over time, the diverter can malfunction, causing water to leak or making it difficult to switch between the two outlets.
Repairing a shower diverter is not overly complicated and can be done with a few basic tools and a little patience. Whether it’s a minor adjustment or a full replacement, learning how to fix your shower diverter will save you time, money, and the inconvenience of a dysfunctional shower.
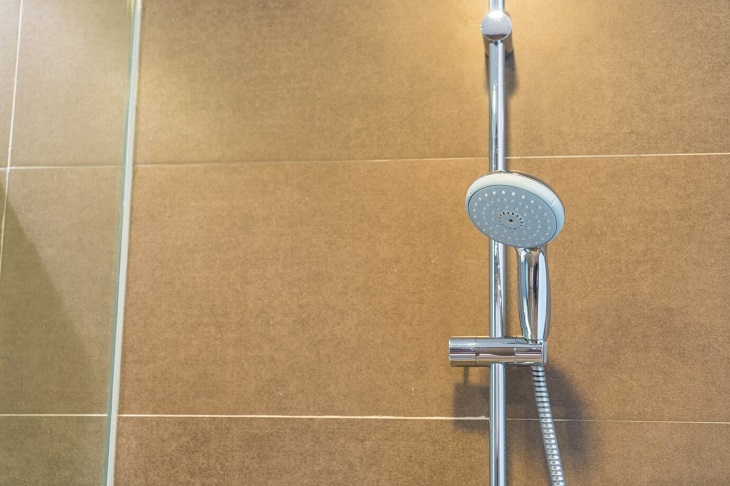
What Causes a Shower Diverter Not to Work?
Before attempting to fix your shower diverter, it’s crucial to recognize the specific issue you’re dealing with. Several signs indicate a malfunctioning diverter:
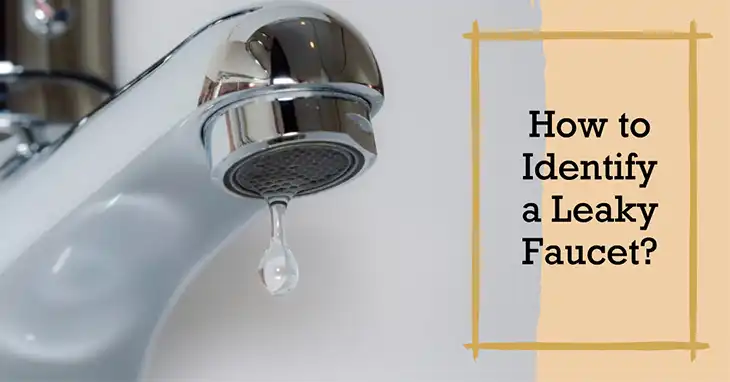
- Water leakage from the tub spout when the shower is in use: If water continues to flow from the tub spout even when you’ve switched to the showerhead, it indicates the diverter isn’t fully directing the water upward.
- Difficulty switching between the tub and shower: If the diverter is stiff or unresponsive, you may struggle to switch the water flow from the tub to the showerhead. This could be due to internal wear or mineral buildup.
- A loose or stuck diverter handle: If the diverter handle feels loose or doesn’t move properly, it suggests the diverter mechanism might be worn out or have a loose connection.
How to Fix a Stuck Shower Diverter?
The method to choose for fixing a shower diverter depends on the underlying issue. But before we get into that, here is a list of tools you will need to gather.
- Screwdriver (flathead or Phillips)
- Wrench
- Plumber’s tape
- Replacement parts (if necessary)
- Lubricant (optional)
Once you’re prepared with the tools, you’re ready to begin addressing the issue.
Method 1: Tightening a Loose Diverter
In some cases, the diverter handle may have loosened over time, making it difficult to control water flow. Tightening the diverter handle can often resolve this issue without needing a full replacement.
- Turn off the water supply to the shower to prevent any accidental water flow while working.
- Remove the diverter handle by using a screwdriver to take off the small screw holding the handle in place. In many cases, this screw is located behind a decorative cover, which can be gently pried off with the screwdriver.
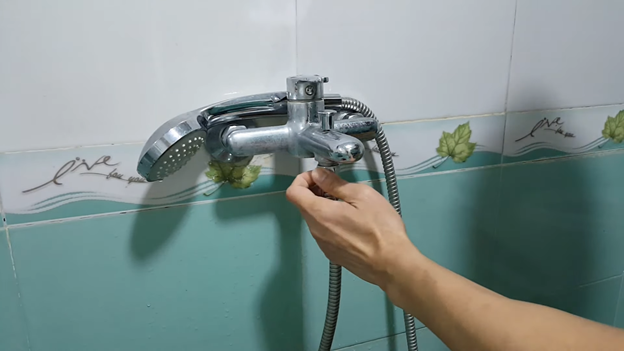
- Tighten the diverter stem using a wrench. Turn it clockwise to ensure it’s securely fastened.
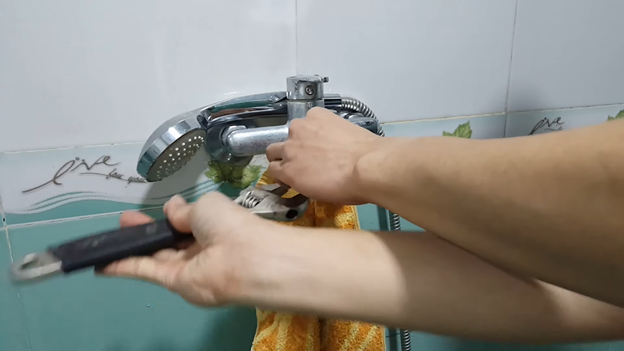
- Reattach the handle and test the diverter to see if it now properly directs the water flow.
- Turn the water back on and test both the tub and shower settings.
If the handle was simply loose, this should solve the issue.
Method 2: Cleaning and Lubricating the Diverter
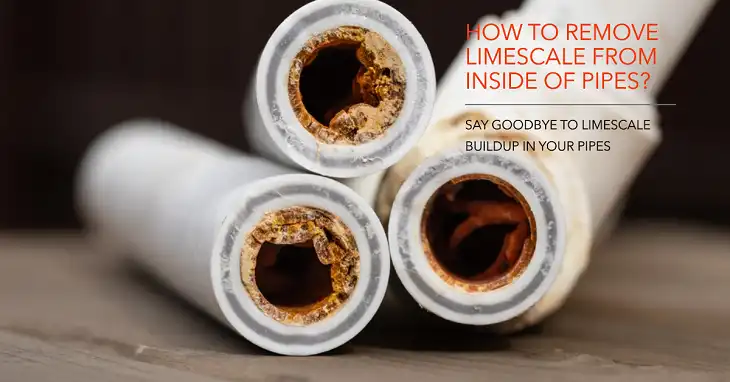
Mineral buildup can cause the diverter to stick, preventing smooth operation. In this case, cleaning and lubricating the diverter may restore it to working condition.
- Turn off the water supply to the shower.
- Remove the diverter handle and spout following the same steps as in Method 1. If the diverter is located inside the spout, you may need to unscrew and remove the entire spout.
- Clean the diverter by soaking it in vinegar or a commercial descaling solution to remove any mineral buildup. A toothbrush can be used to scrub hard-to-reach areas.
- Lubricate the diverter stem with a silicone-based lubricant to allow for smoother operation.
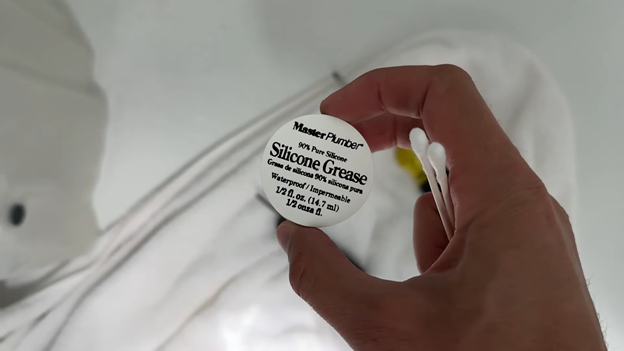
- Reassemble the diverter and spout, and turn the water back on to test the functionality.
This method is especially useful if you live in an area with hard water, as mineral buildup is more common.
Method 3: Replacing a Faulty Diverter
If tightening or cleaning doesn’t fix the problem, it may be time to replace the diverter entirely. While it may sound daunting, replacing a diverter is relatively straightforward.
- Turn off the water supply and remove the diverter handle as described earlier.
- Unscrew the diverter valve using a wrench. In some models, the valve is part of the tub spout, while in others, it may be located inside the wall. Be sure to note how the diverter was installed so you can correctly position the replacement part.
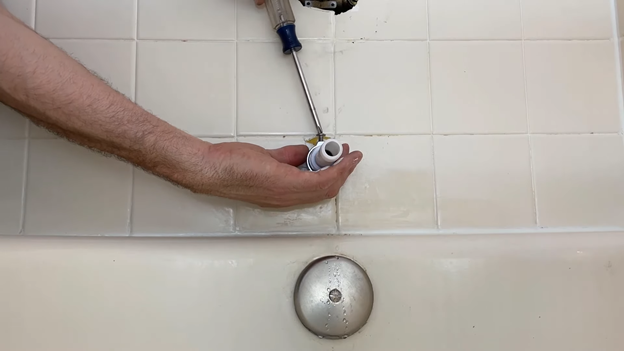
- Replace the old diverter with a new one. If it’s part of the spout, you will need to unscrew the old spout and replace it with a new one. If it’s an internal valve, carefully unscrew and remove the valve, replacing it with the new unit.
- Apply plumber’s tape to the threads of the new diverter to create a watertight seal.
- Reattach the handle and test the system. Turn the water supply back on and ensure that the new diverter properly switches between the tub and shower.
If the diverter was damaged or worn out, this replacement should restore full functionality.
Frequently Asked Questions
Can a shower diverter be fixed?
Yes, a shower diverter can often be fixed. The most common causes of a faulty shower diverter are mineral buildup, mechanical issues, or a worn-out seal. If the problem is relatively minor, such as mineral buildup, you may be able to fix it yourself.
How often should I replace my shower diverter?
Diverters generally last several years but may need replacement sooner if exposed to hard water or used frequently. Signs of malfunction should prompt an inspection and possible replacement.
Conclusion
Fixing a shower diverter doesn’t have to be complicated. By following these methods, you can quickly address most common issues and enjoy a fully functioning shower once again. Whether you need to tighten, clean, or replace the diverter, these steps ensure your shower experience remains smooth and enjoyable.

