How to Flush a Tankless Water Heater: A Complete Step-by-Step Guide
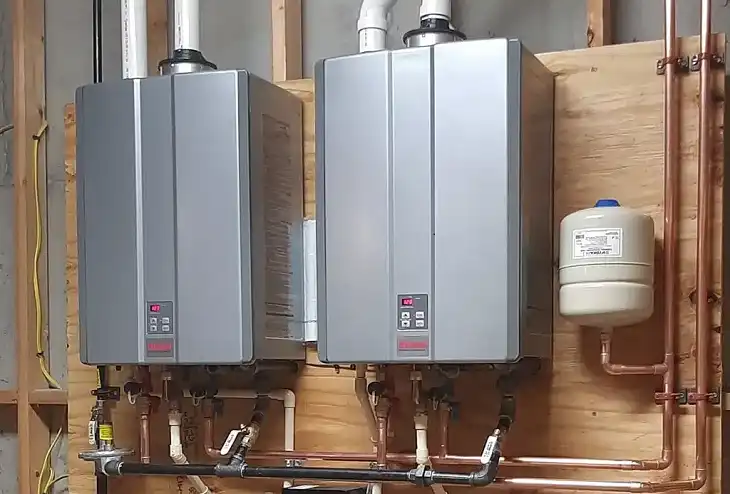
A tankless water heater, while efficient and convenient, needs regular maintenance to keep it functioning optimally. One critical aspect of this maintenance is flushing the system. Mineral deposits, especially calcium and lime, can build up over time, causing reduced efficiency, lower water pressure, and fluctuating temperatures. This buildup not only reduces your heater’s performance but can also shorten its lifespan.
In most cases, you should flush your tankless water heater annually. However, if you have particularly hard water, it may require biannual flushing. Regular flushing can save on energy bills, provide consistent hot water, and prevent costly repairs down the line.
Types of Tankless Water Heaters and How Their Flushing Method is Different
Tankless water heaters come in two main types: gas and electric. While they both operate similarly by heating water on demand, there are a few differences when it comes to maintenance. Gas tankless heaters generally have a more complex setup, requiring the gas supply to be shut off before flushing. Electric tankless heaters, on the other hand, only require power disconnection. Understanding your heater type helps you take the correct safety steps and avoid damaging components during flushing.
Tools and Materials Needed to Flush Tankless Water Heater
To flush a tankless water heater, you’ll need a few key tools and materials. Having everything ready before you begin ensures a smooth process. Here’s what you’ll need:
- Submersible or Utility Pump: Essential for circulating the cleaning solution through the heater.
- 5-Gallon Bucket: Used to hold the cleaning solution and pump.
- Cleaning Solution: Many users prefer white vinegar as it’s natural and effective, but commercial descalers can also be used.
- Flexible Hoses: These connect the pump and bucket to the heater’s inlet and outlet.
- Adjustable Wrench: This helps with securing and loosening hoses and valves.
While a pump is generally required, some methods allow gravity-fed flushing as an alternative.
Safety Precautions Before You Begin
Before you begin flushing, prioritize safety. Turn off the heater’s power supply, whether it’s gas or electric, to avoid accidents. Shut off the main water supply to the unit and check that it’s cooled down completely. Hot water and descaling solutions can cause burns if handled carelessly, so wearing protective gloves and goggles is a smart safety measure. This step-by-step approach ensures you’re safe throughout the process.
Step-by-Step Guide to Flushing Your Tankless Water Heater
Flushing a tankless water heater requires attention to detail, and following these steps carefully will help remove mineral deposits effectively.
- Attach the Hoses: Begin by locating the cold water inlet and hot water outlet valves on your heater. Attach flexible hoses to each valve, ensuring a snug fit to avoid leaks.
- Set Up the Descaling Solution: Fill a 5-gallon bucket with white vinegar or a commercial descaling agent. Submerge the pump in the solution, connecting the hoses to the pump and bucket.
- Begin Circulation: Turn on the pump to start circulating the cleaning solution through the heater. Allow it to run for 45 to 60 minutes. This process will dissolve mineral buildup inside the unit.
- Rinse the System: After the descaling process, drain the solution and fill the bucket with clean water. Flush the heater by circulating fresh water for an additional 10 to 15 minutes to ensure all traces of descaling agent are removed.
- Disconnect and Reassemble: Disconnect the hoses and re-secure the valves. Inspect for any leaks before proceeding.
Alternative Flushing Methods
For those without a pump, a gravity-fed method can be used, though it may be less effective for severe buildup. This approach requires positioning the heater higher than the cleaning bucket and allowing gravity to circulate the solution. This method may work for minor cleanups, but investing in a pump is recommended for thorough maintenance.
Troubleshooting Common Issues During Flushing
During or after flushing, a few common issues might arise:
- Airlocks: Airlocks can prevent water from circulating correctly. To resolve this, turn the heater off, let it cool, and then restart with fresh water circulation.
- Leaks: Leaks often result from loose hose connections. Ensure hoses are tightly secured and inspect gaskets for wear.
- Persistent Mineral Buildup: In hard water areas, heavy buildup may require a second flush. If residue remains, use a stronger descaler and repeat the process.
Troubleshooting these issues as they arise ensures a smooth flush and a functioning heater.
Post-Flush Checklist: Restarting and Testing Your Heater
After you’ve completed the flush, follow this checklist to restore your heater to its normal operation:
- Reassemble and Power On: Reattach any remaining components, turn on the water supply, and restore power (or gas) to the heater.
- Run the Hot Water Tap: Allow hot water to flow through your system for a few minutes to ensure normal functionality. This helps confirm that the heater is correctly reconnected.
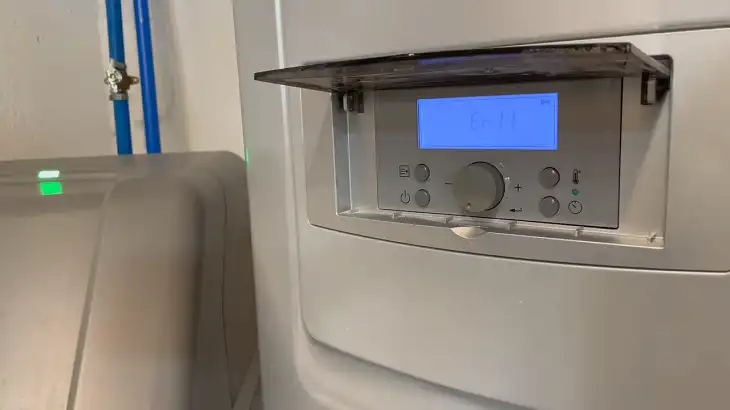
- Inspect for Error Codes: Many modern tankless water heaters display error codes. Refer to your manual to address any issues or codes that appear post-flush.
Frequently Asked Questions (FAQs)
How often should I flush my tankless water heater?
Ideally, flush your heater annually. However, in hard water areas, twice a year is recommended.
What happens if I don’t flush my water heater regularly?
Skipping flushes leads to mineral buildup, which reduces efficiency, affects water flow, and shortens the heater’s lifespan.
Can I use other descaling agents besides vinegar?
Yes, commercial descalers are available and often more powerful than vinegar. However, vinegar is safe, natural, and effective for light to moderate cleaning.
What should I do if I notice leaks after flushing?
Check all connections and tighten them as needed. Inspect the gaskets and replace if worn or damaged.
How much does professional flushing typically cost?
Professional flushing generally costs between $150 and $300, though this varies by location and heater model.

